Your recent post: Nov 2014
Oh my.
My neglect of “This Girl has Knits” has been playing on my mind for a long time. While it may have been very quiet for me here in blog-land, it has been anything BUT quiet behind the scenes.
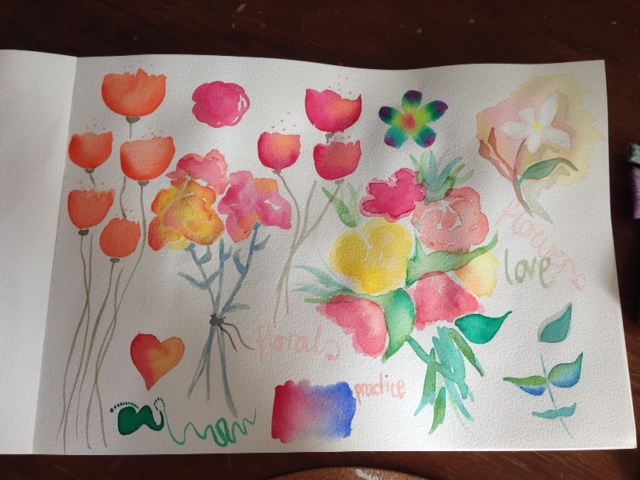
If you’ve read my blog before, I’m sure you know that I love to create. Create anything, really. I knit, crochet, sew, paint, draw… I love pencils and crayons. And yarn. OH MY, the yarn! For so long, these endeavours have only been a hobby, something I do with my spare time (ahem… the time I should be cleaning the house..).
Until a few months ago. While sitting at my desk at work, daydreaming of sewing, I made a decision. I wanted to learn how to make clothing patterns. All the in’s and out’s of fashion, how to make a jacket, how to fit a pair of pants, the best curve for a set in sleeve… All of it! Luckly, I know a very talented lady who has been drawing patterns her entire life, for some of the best known lables (Cue, Seafolly, Bec & Bridge… the list goes on), and she was more than willing to teach me all the tricks of the trade!
I arranged with work to take one day off a week, to go and study Pattern Making and Fashion Design. The last 4 months have been so amazing, I have learnt so much, and I have loved every minute of it.
But wait, you say, when did this go from being a hobby, to something more?
I thought the best way for me to really understand how my patterns work as actual clothing, was to make clothing from them! So I have opened an Etsy store, where you can purchase my hand-made clothing and homewares! (I’ll put all of the links at the end of this post)
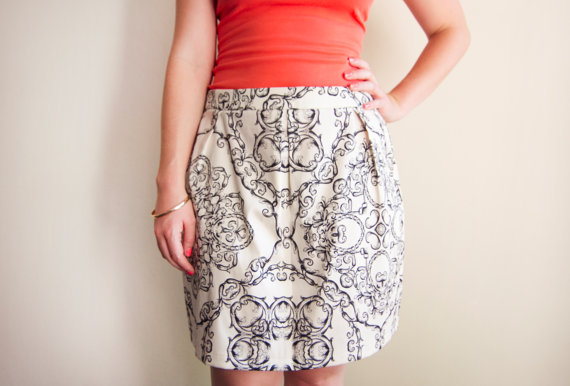
The “Alice” skirt, hand-made by me, and available on the Made by Mitty Etsy Store!
I have a new website, a Pinterest, Instagram, Facebook.. All of the social media’s! I’ll also be starting a new blog, which is why this post is titled “the final post…”, on this blog, at least!
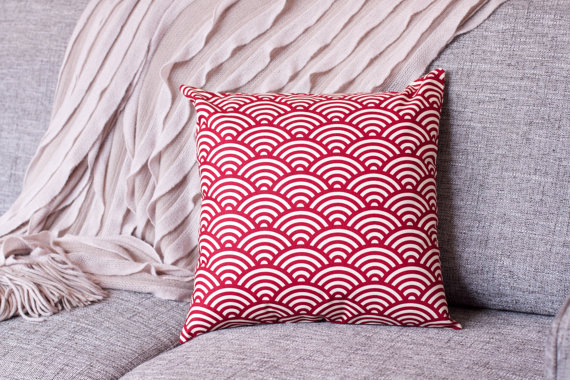
“Seigaiha in Maroon” cushion cover, available on the Etsy Store!
I’ll miss posting under the name This Girl has Knits, but if you’d still like to hear what I’m up to (including the upcoming making of a very special white dress!), please feel free to follow me under Made by Mitty!
- Made by Mitty Website: http://www.madebymitty.com
- Made by Mitty Blog: https://madebymitty.wordpress.com/
- Made by Mitty Etsy Store: http://www.etsy.com/au/shop/madebymitty
- Mady by Mitty Instagram: http://instagram.com/madebymitty
- Mady by Mitty Society6: http://www.society6.com/madebymitty
- Made by Mitty Youtube: http://youtube.com/user/madebymitty
- Made by Mitty Pinterest: http://www.pinterest.com/madebymitty
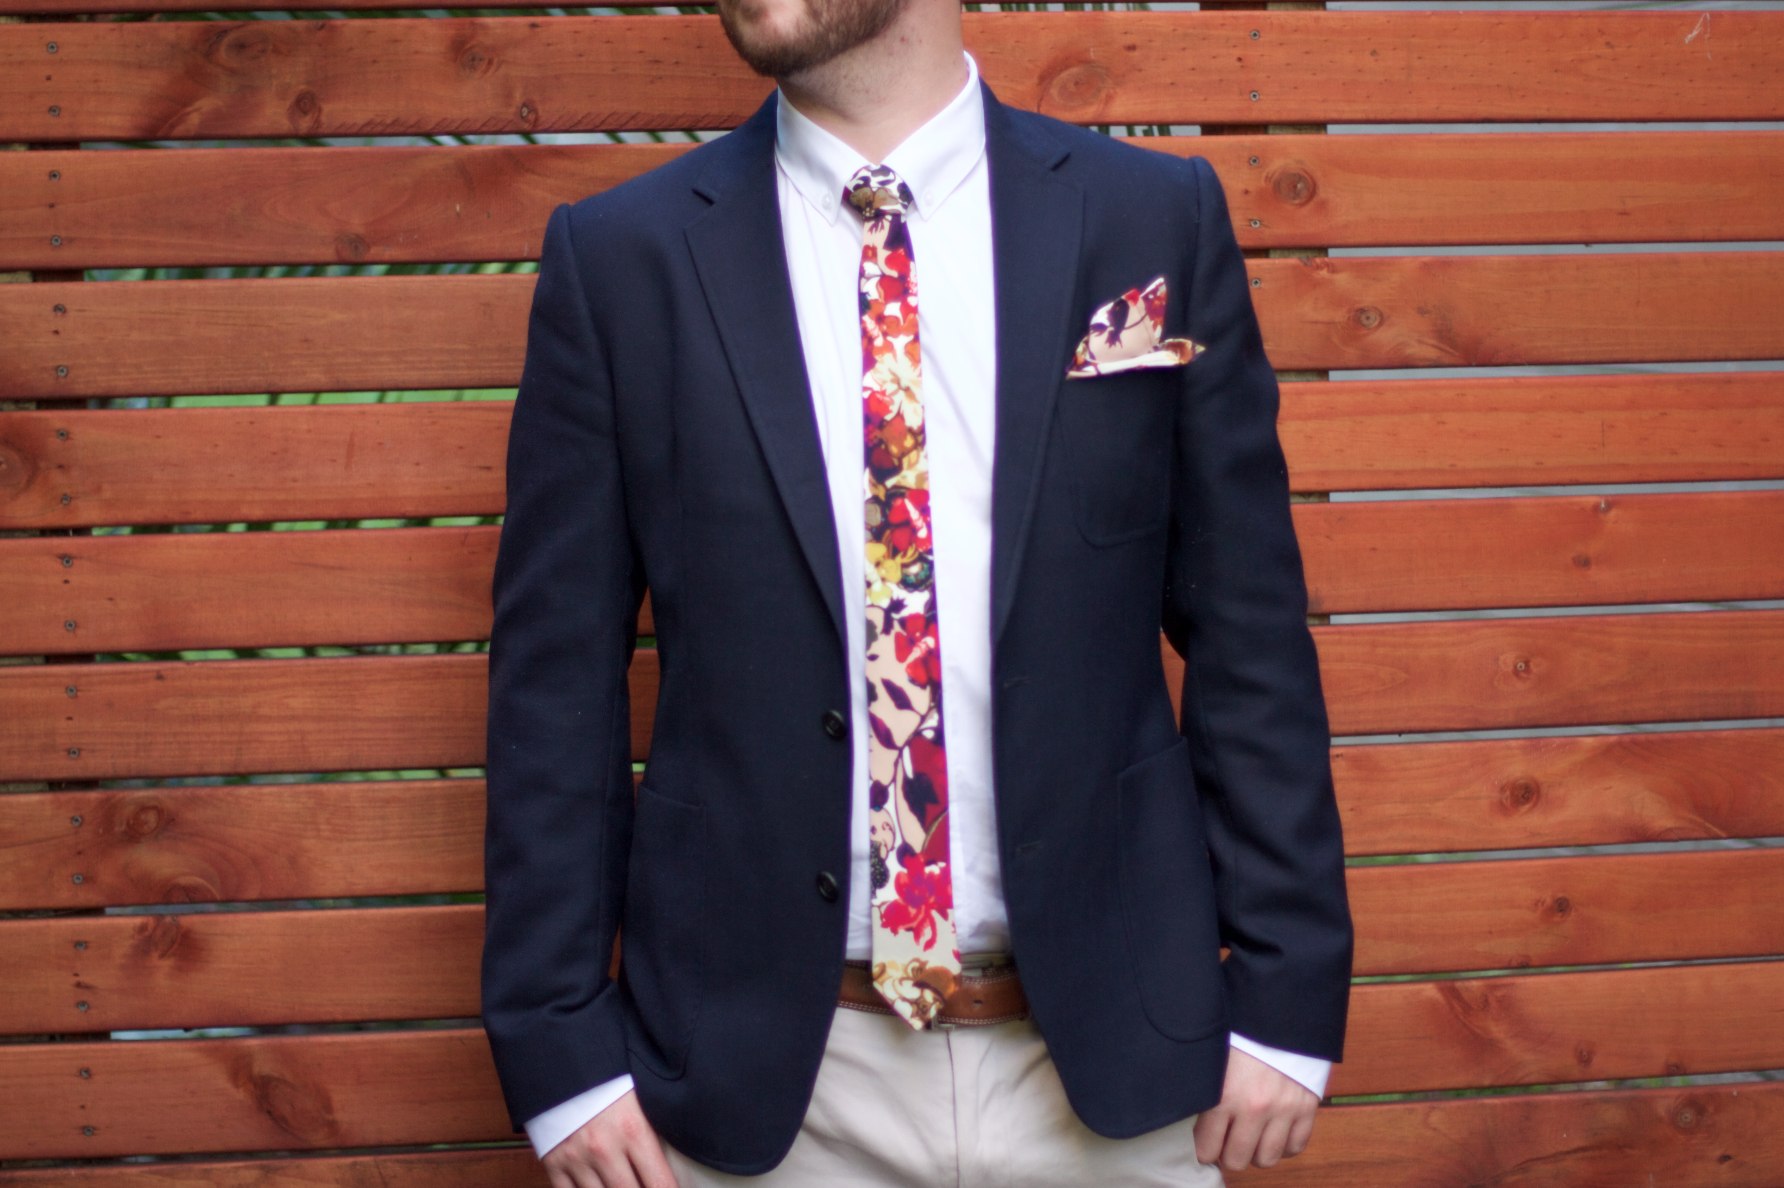
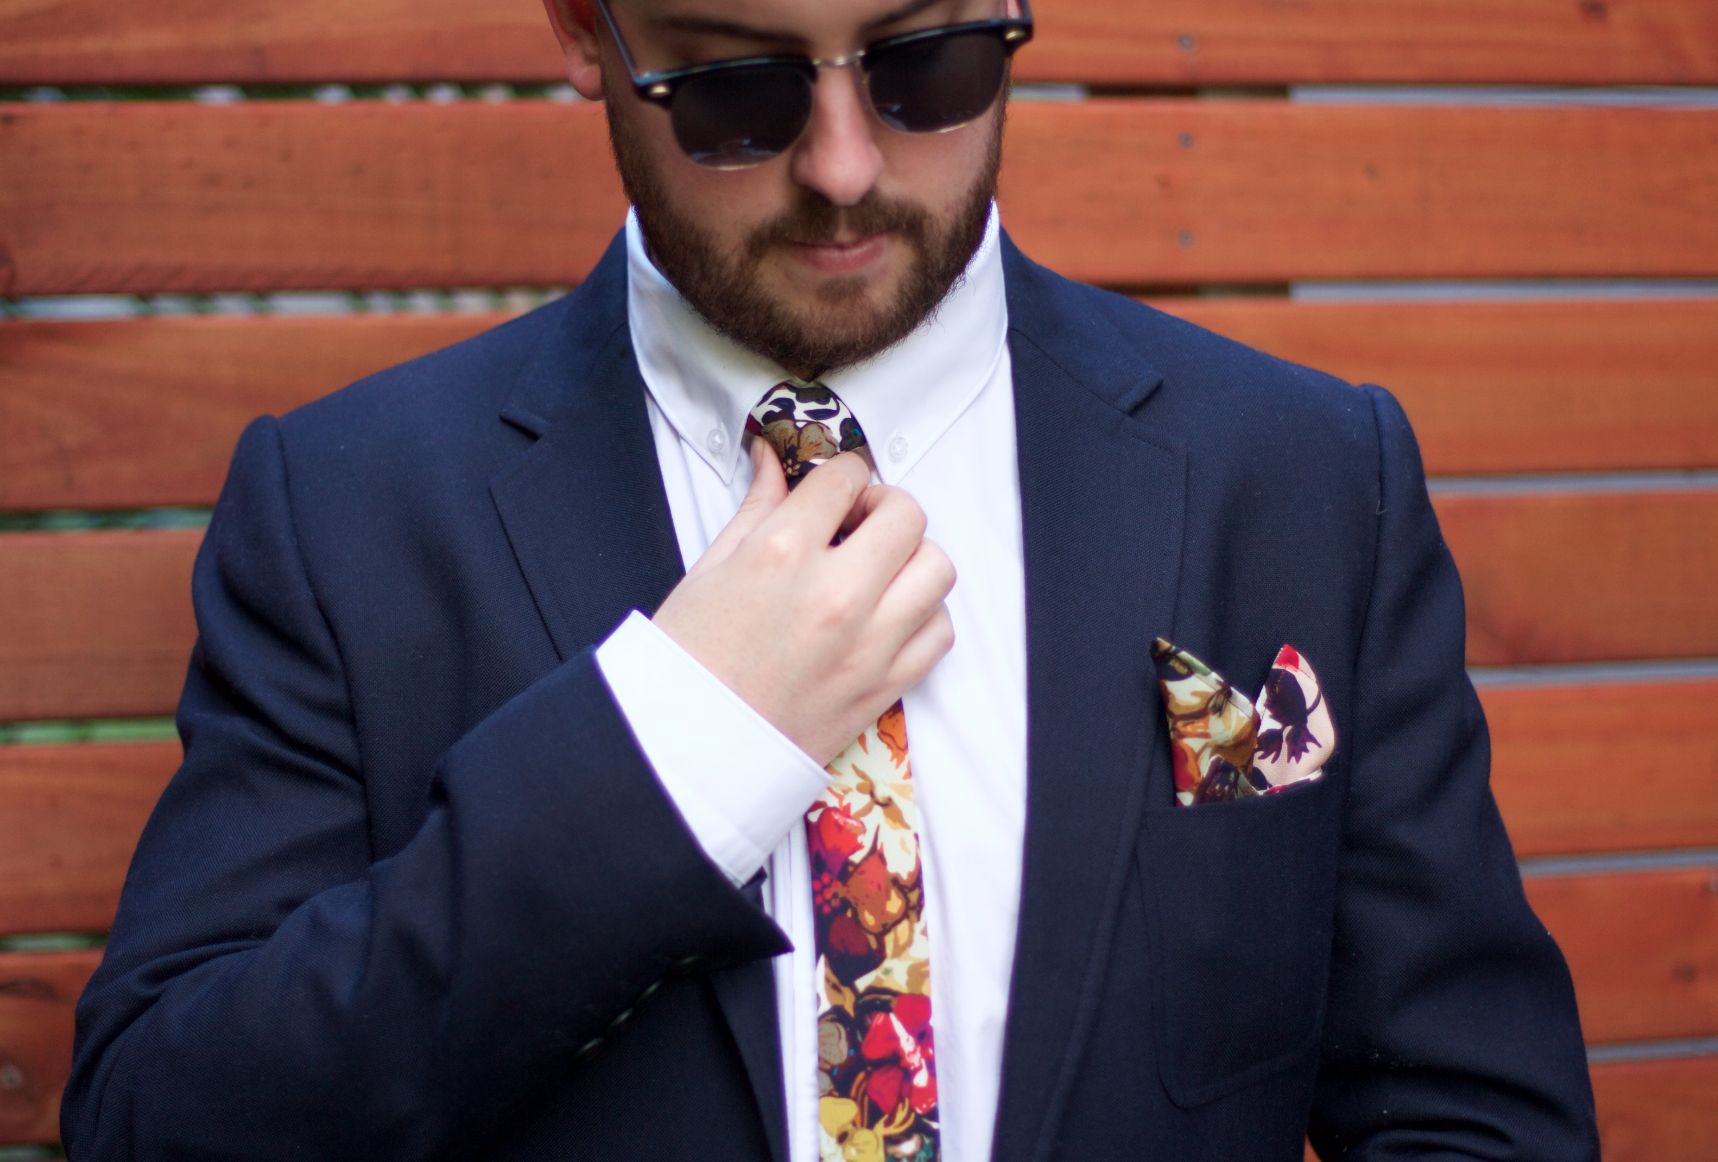
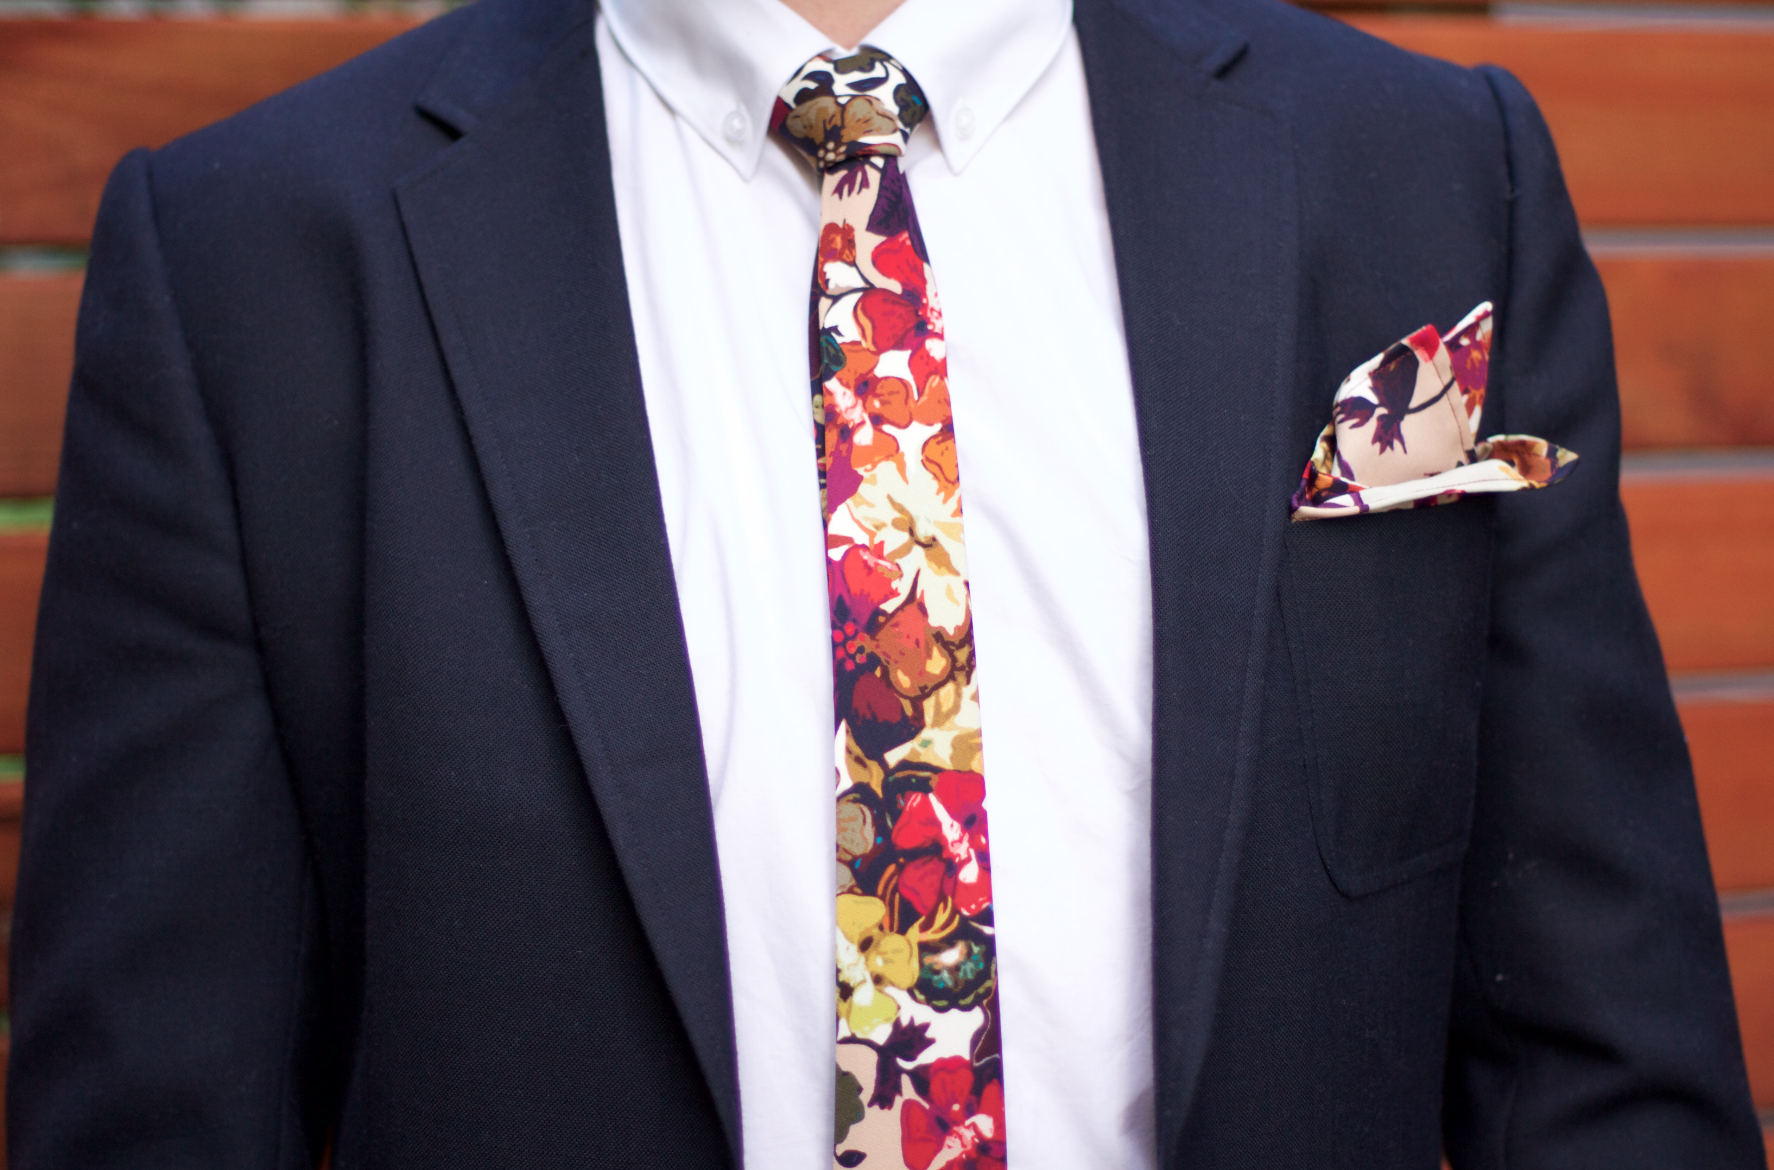
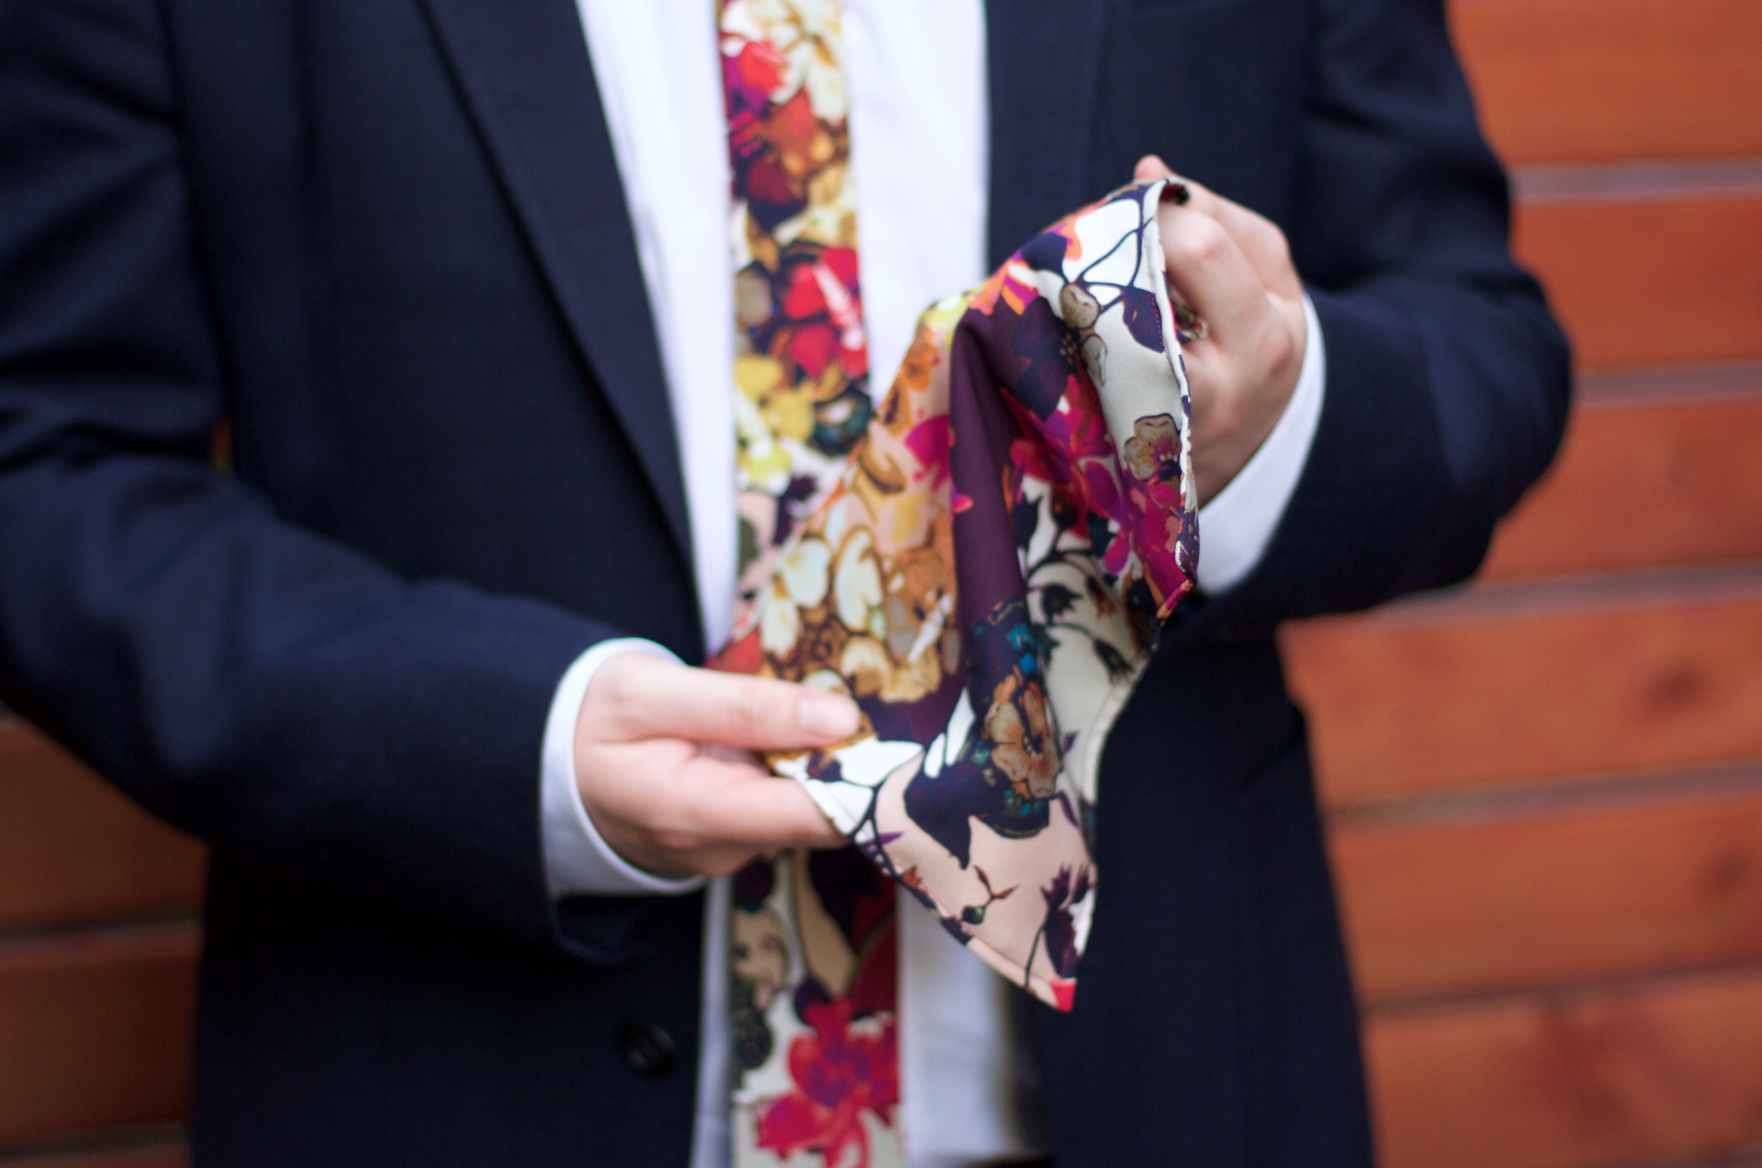
Fiori Colorado Double Georgette Silk tie, available on the Etsy Store!
I’m also making mens accessories (ties, pocket squares and bow ties), so the man in your life doesn’t feel left out!
I hope to see you soon at Made by Mitty!