
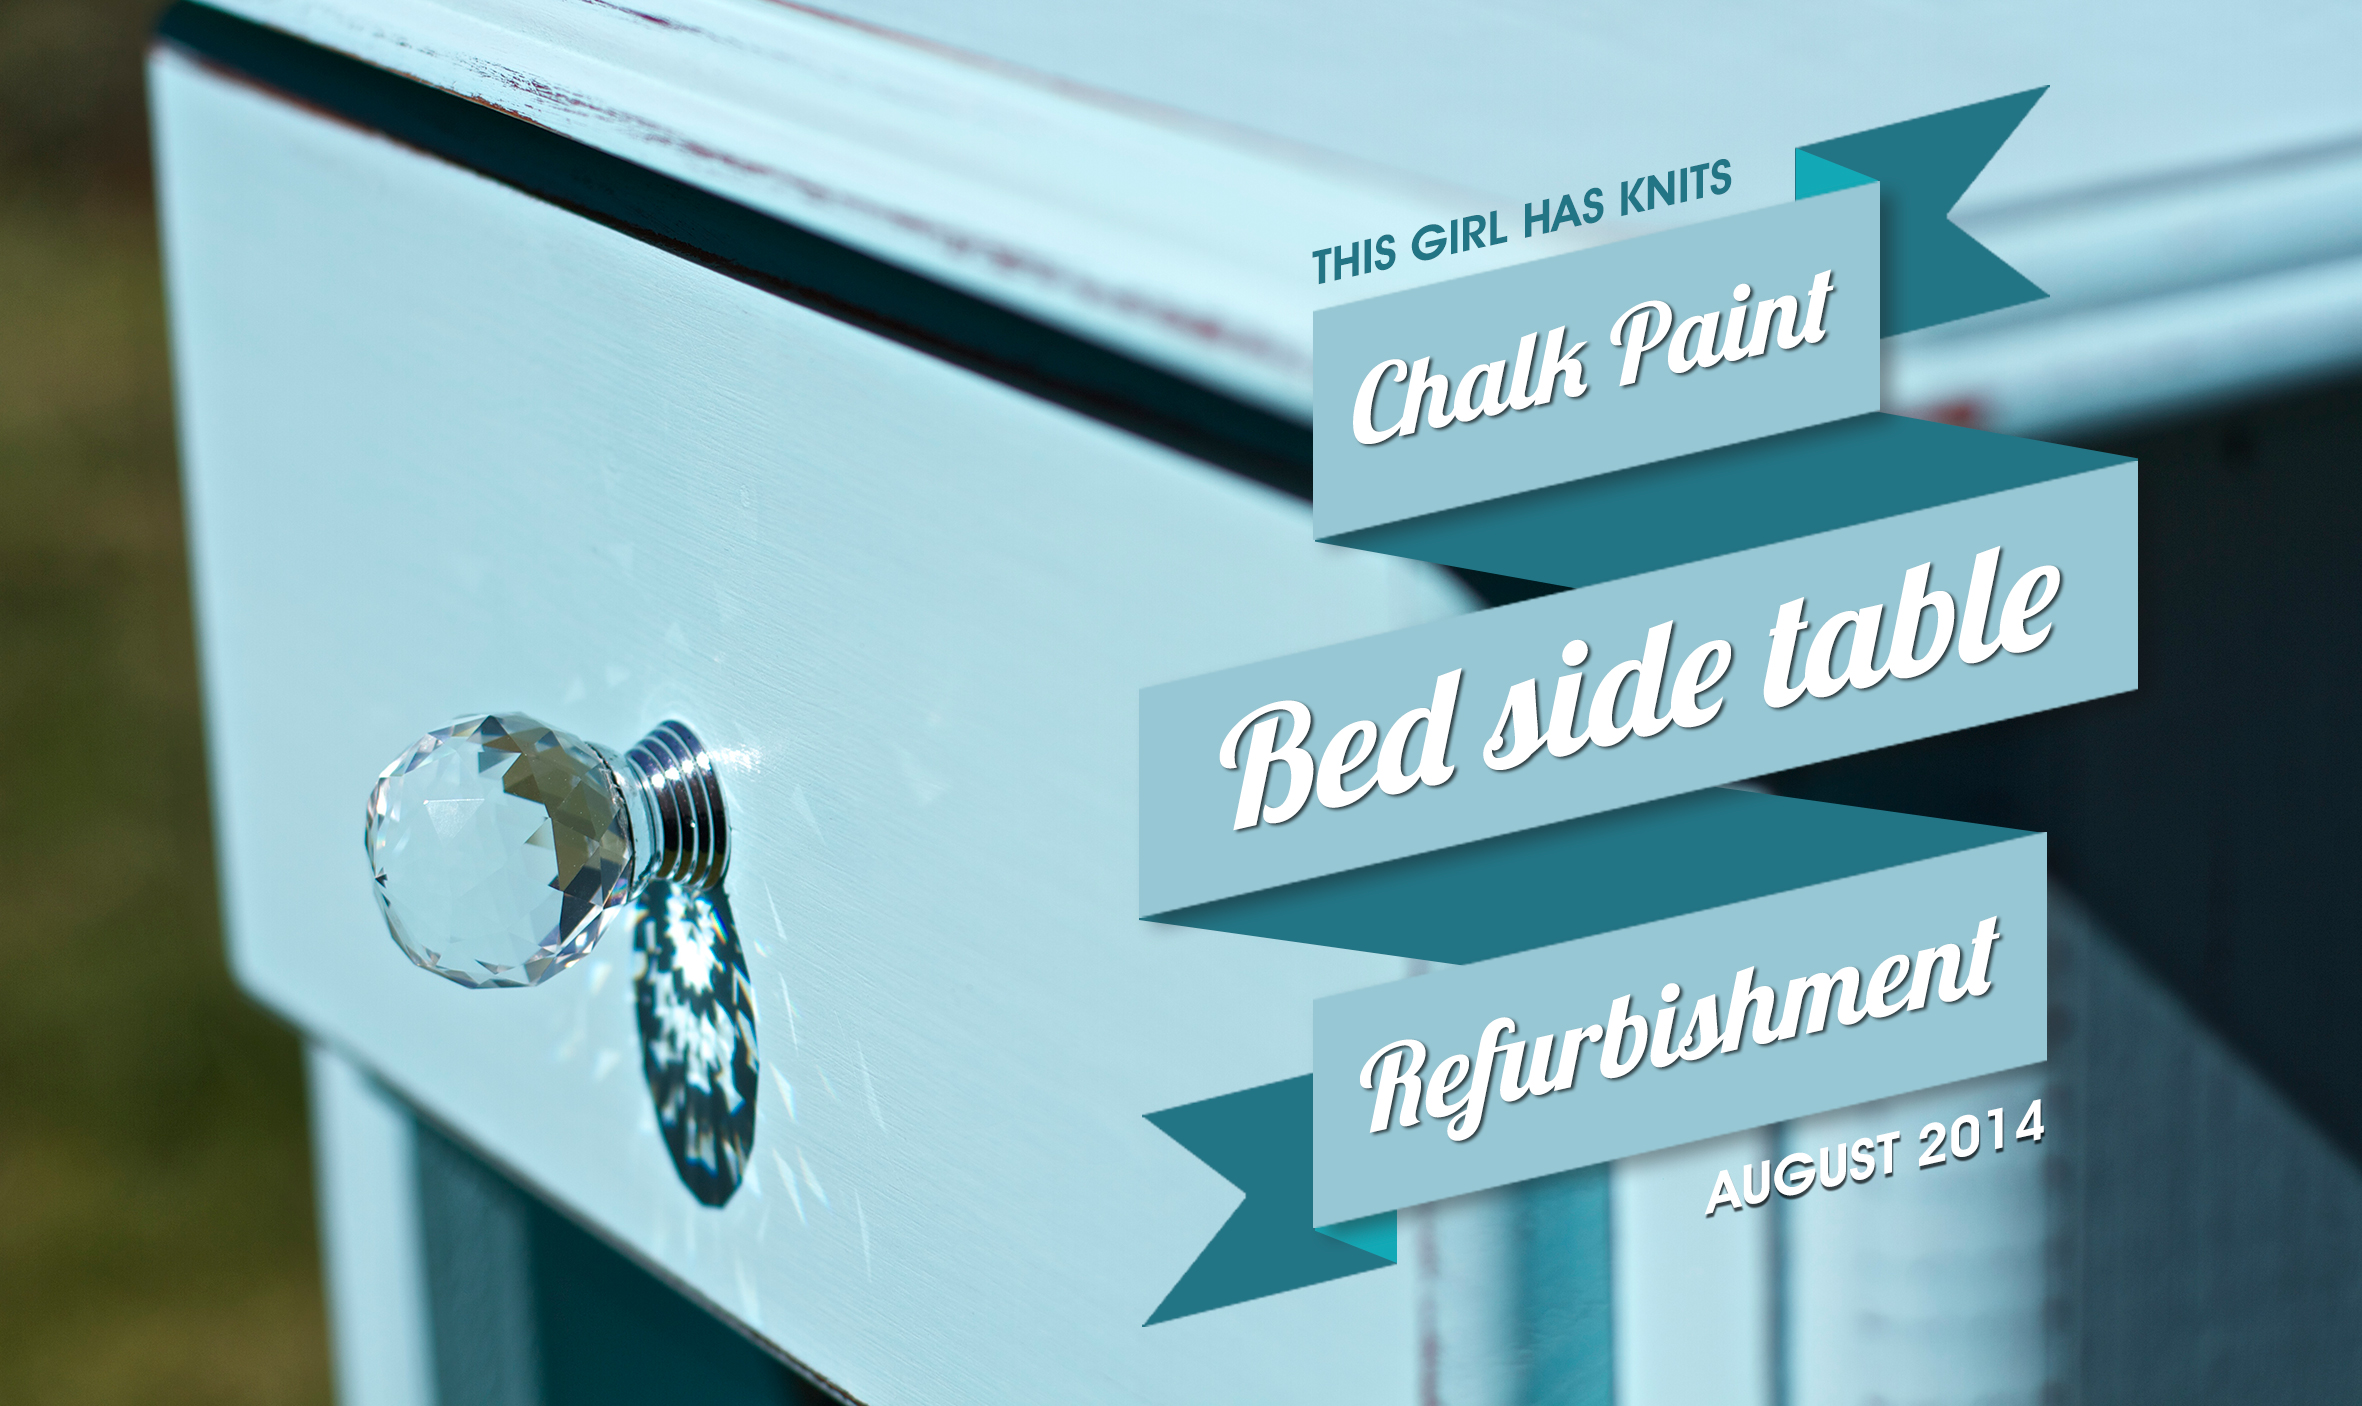
 Chalk paint has been all over Pinterest for a while now, and everyone raves about how easy it is to use, and the gorgeous results it gives. I’ve wanted to do-over my bed side tables for a while now, and I thought this was the perfect project for a first-time-chalk-painter!
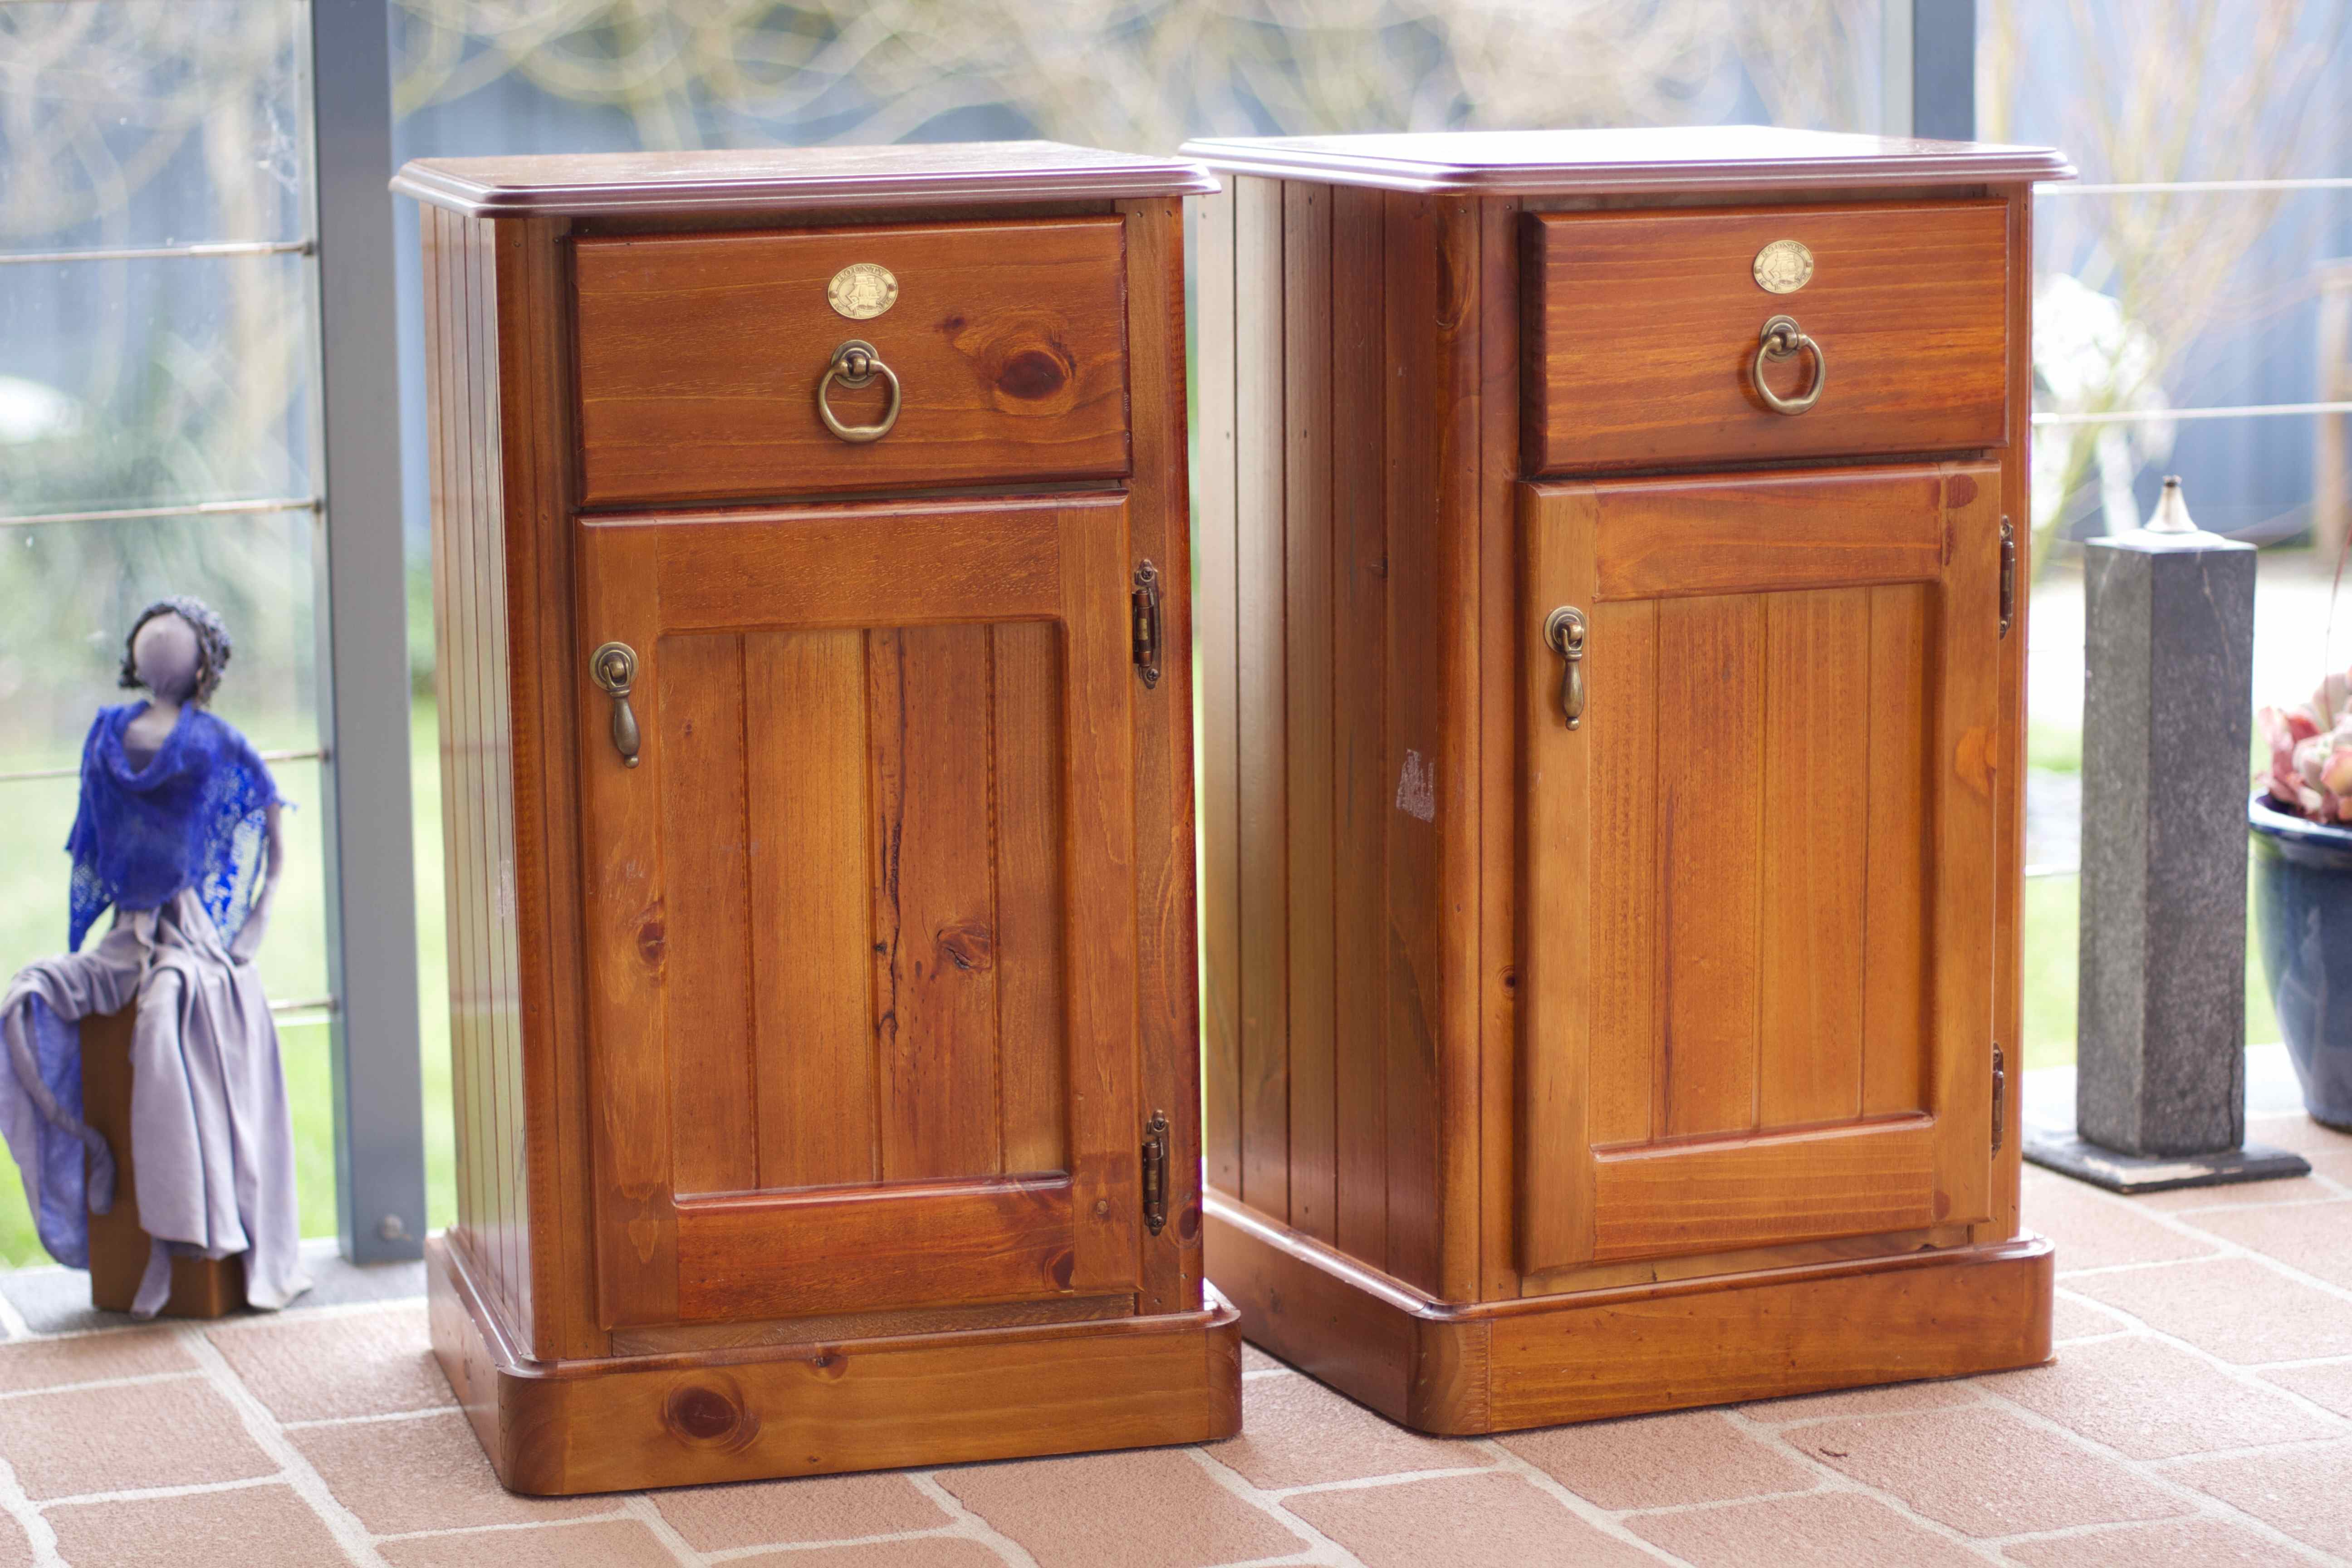
This is was I started with. Two, very generic, bed side tables. First, all of the hard-wear was removed, including the doors, handles, and those little disks.


Even though I’ve read over and over that you don’t have to sand your item before you paint it, I did give mine a light sand, and a good scrubbing with a brush and some warm sugar-soapy water.

The next step, I have to credit to my wonderful dad! Behind the door was just one big open cavity, which I found completely useless for storing stuff. I thought adding a shelf would give me more storage options. I bought a sheet of MDF, and gave dad puppy-dog eyes until he agreed to build me some shelves (thanks dad!).


He used the above tools.. I’m taking a stab in the dark here, and am going to call them “air-compressing nail gun” and “drop saw”.


Here are the two shelves which dad put grooves in to match the sides of my tables.. and the shelf positioned in it’s new home.

Now, onto the fun part! Although I searched, I couldn’t find a retailer that could sell me chalk paint, let alone the colour I wanted. Then I stumbled across Marilyn’s Chalk Paint, which is an Australian company that sells chalk paint powder! This stuff is amazing! Basically, you add it to any low sheen or matte acrylic paint, give it a good shake, and BAM! It will turn it into thick chalk paint! It comes with instructions and measurements, so you’ll never get it wrong!
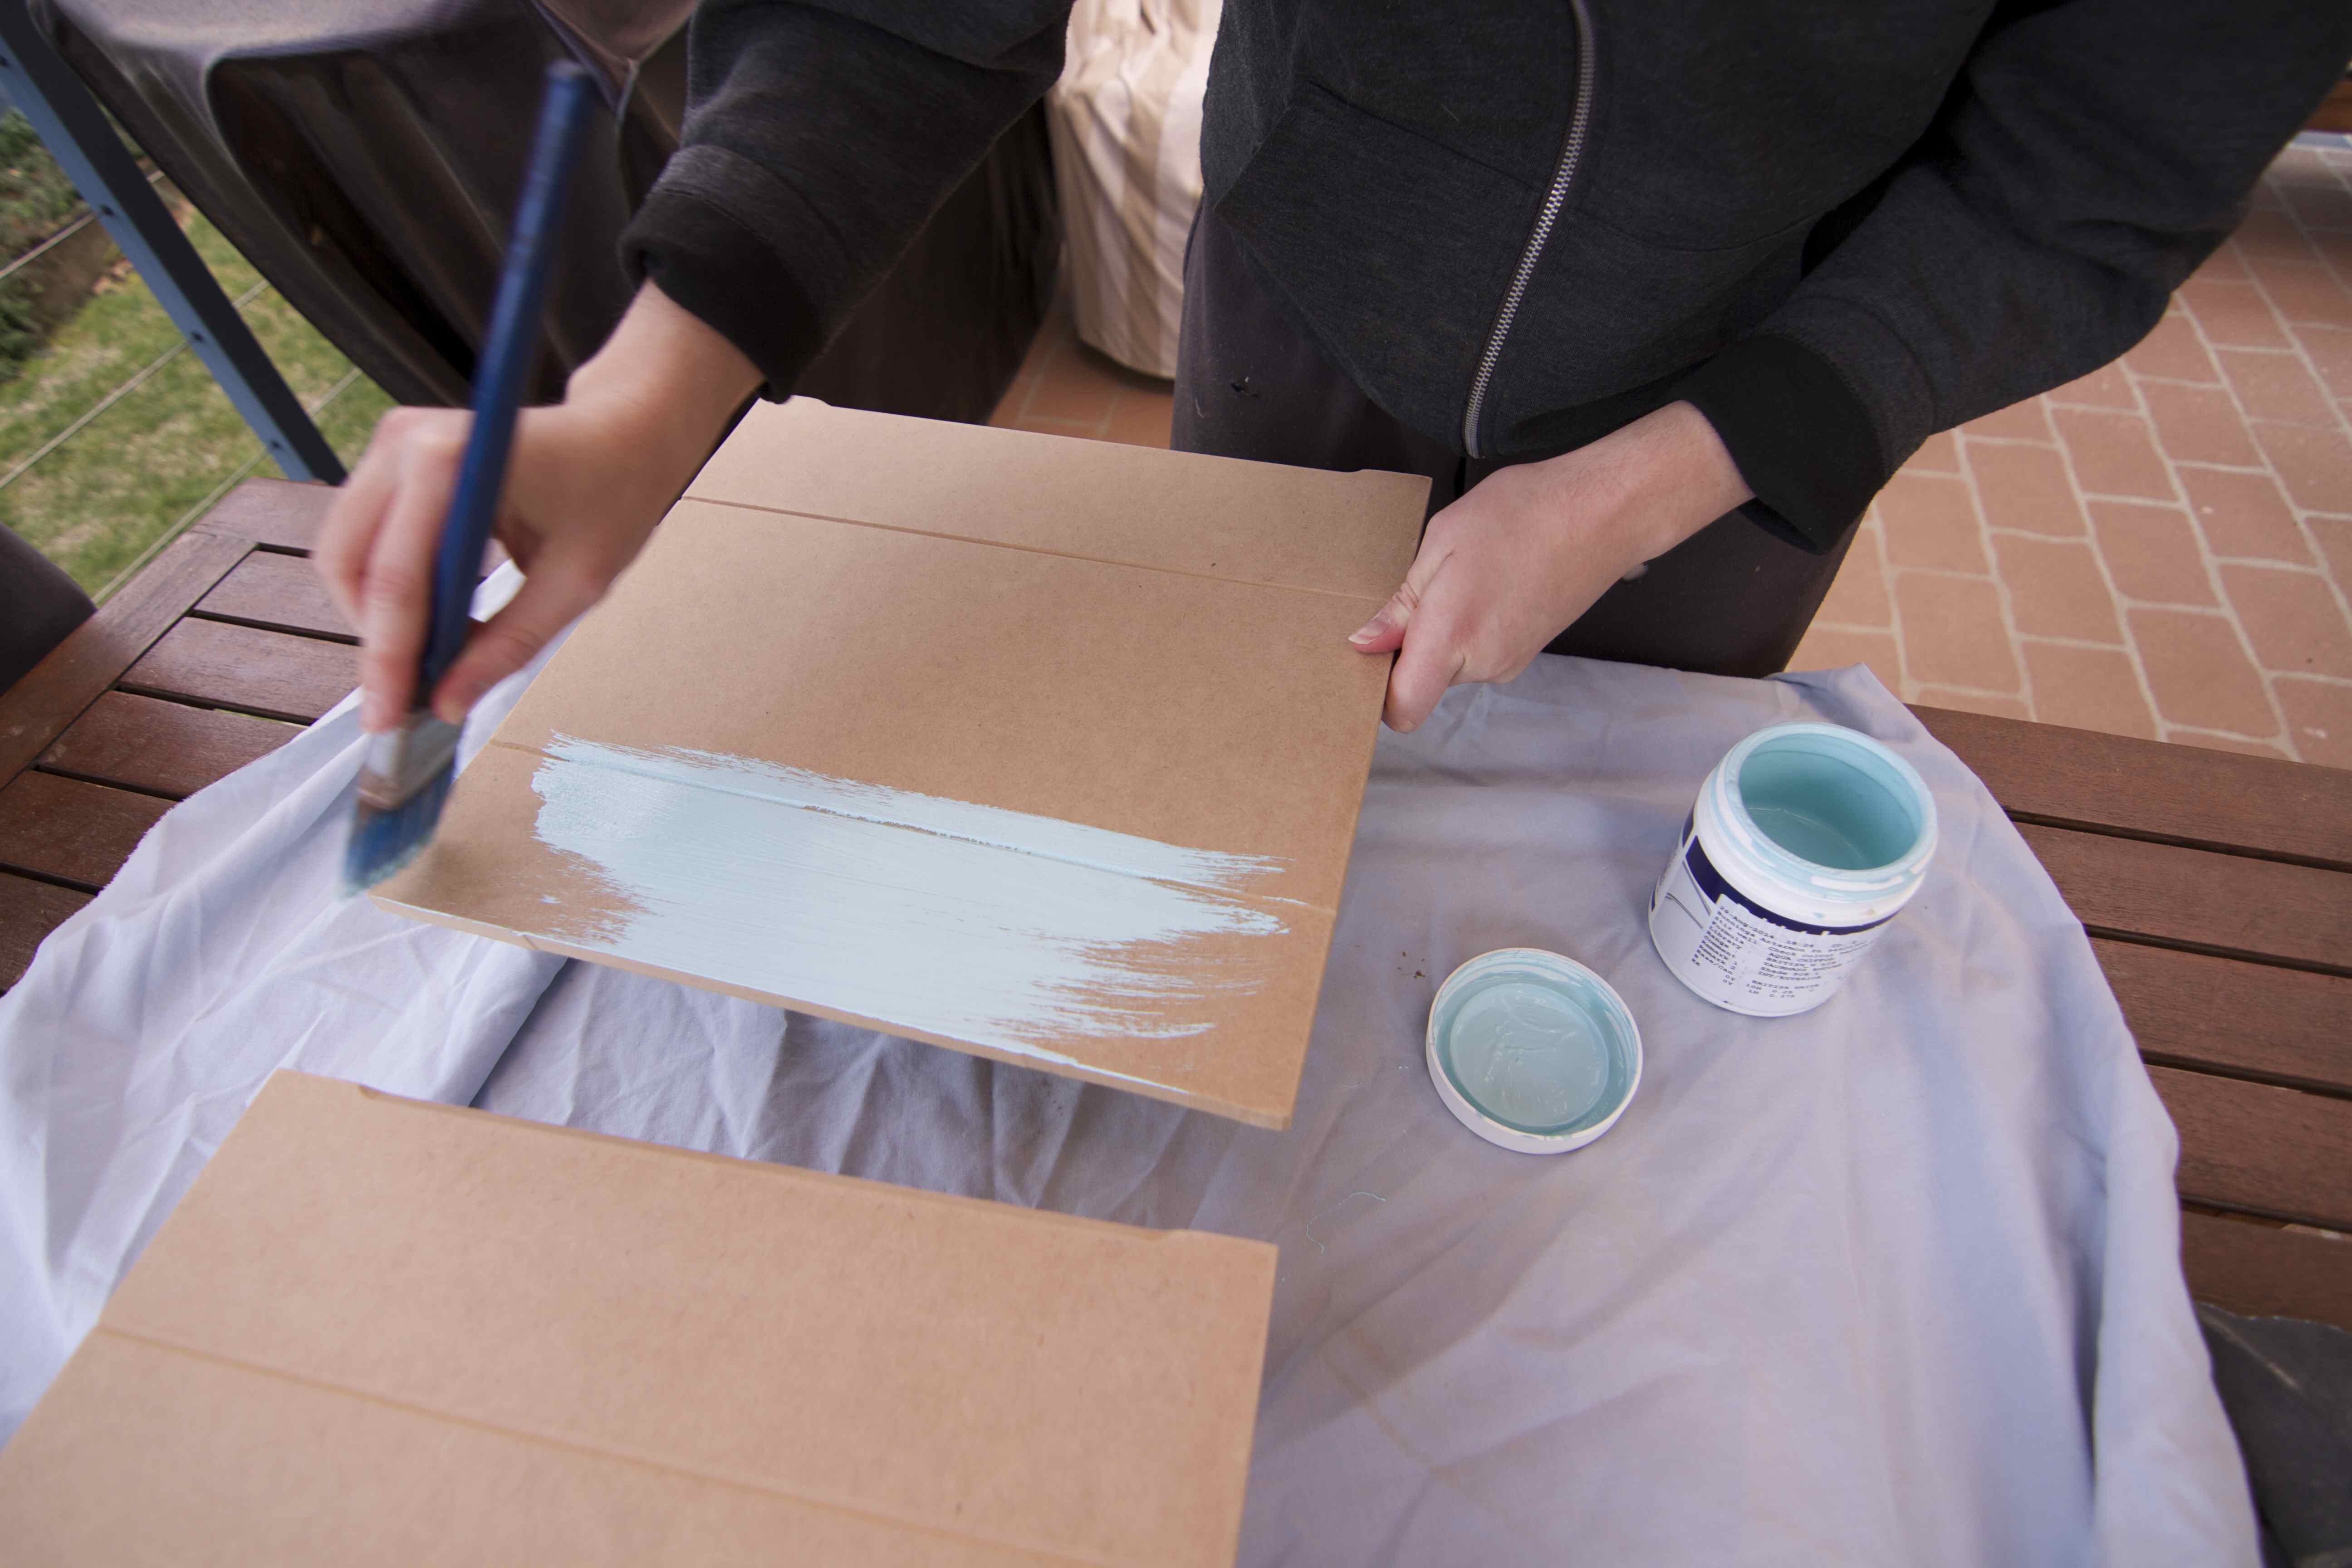
I added the chalk paint mix to my low sheen acrylic paint (in Aqua Chiffon [T10 50B-1] from Taubmans) I started with the shelves, the drawers, and then moved onto the tables. Reags helped me to do a second coat, once the first was completely dry.


I felt like the inside of the draws needed a bit of love. My mum has this book full of gorgeous Paisley wrapping paper, which I knew would be perfect! Using regular-old wood glue, I stuck strips of paper over the joins inside the draw, then measured rectangles of paper to cover the sides and bottom.


I let everything sit overnight, to make sure it was 100% dry. Then I took to all the edges with some fine sand paper, to give a nice distressed look. This is where the chalk paint starts to shine! There is a small amount of texture to the dried paint, so the sand paper took off small bits at a time. It was really easy to control how much distressing there was.
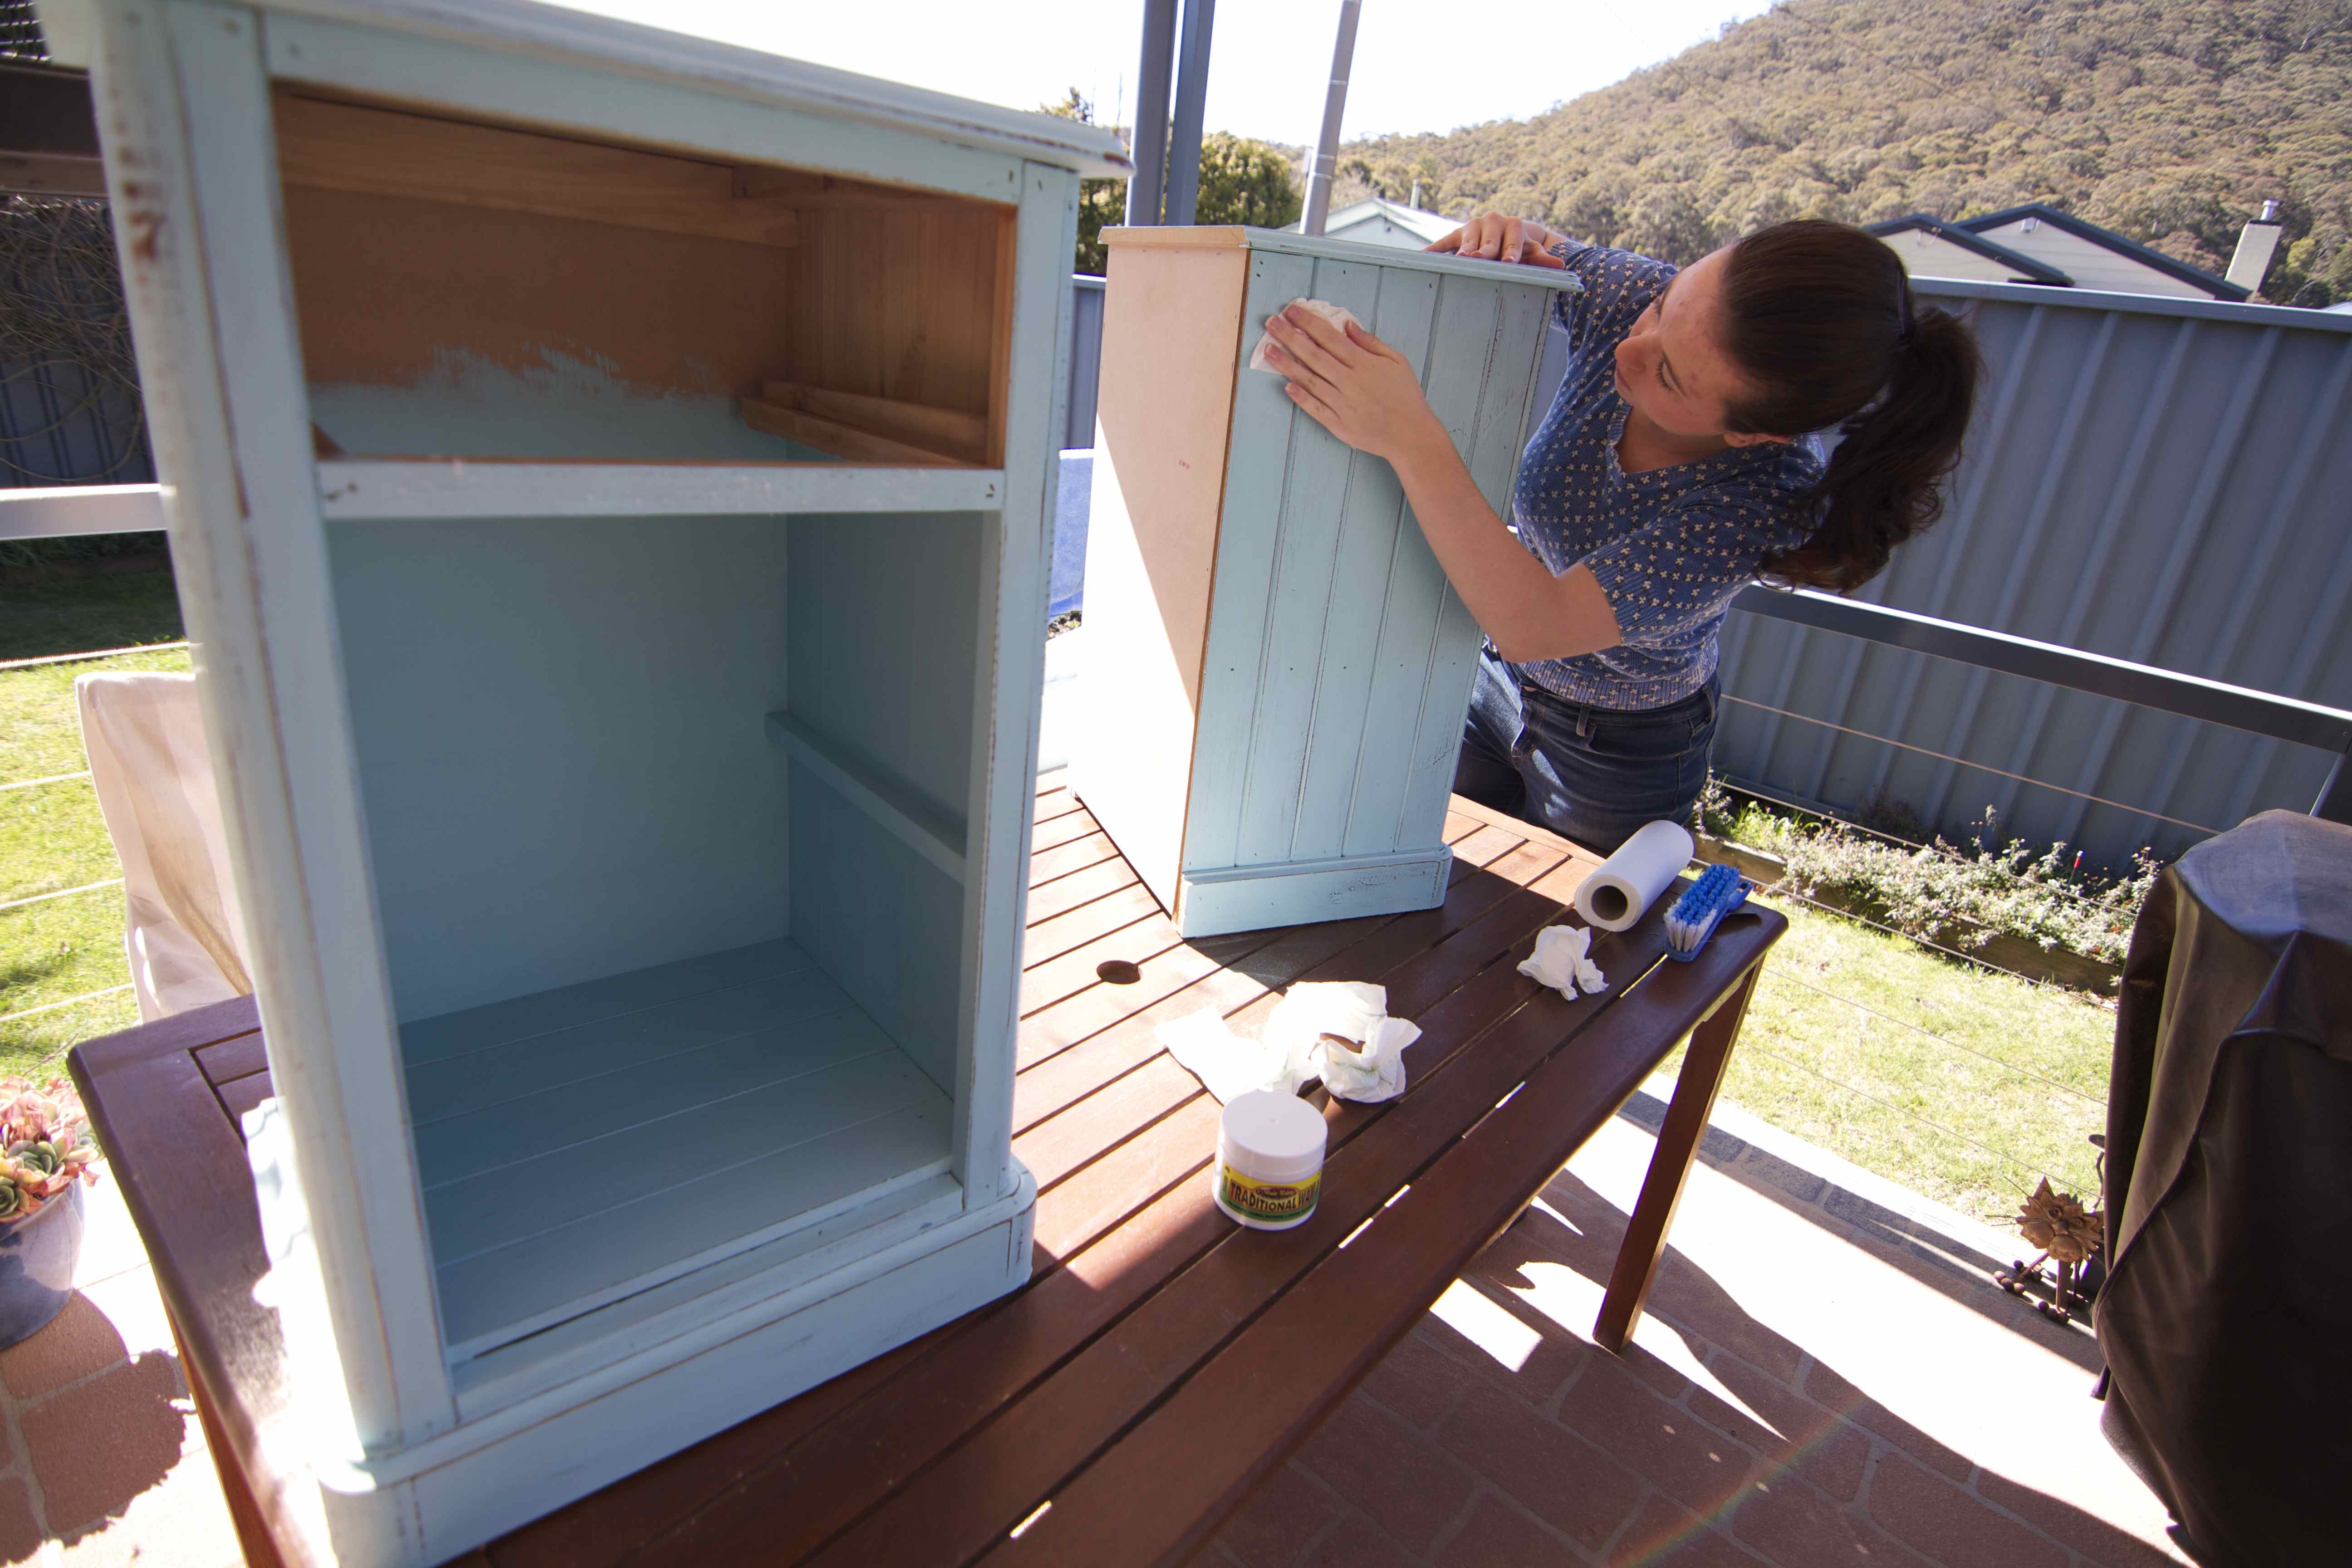
After a quick dusting, we sealed the tables with clear wax, which you can also get from Marilyn’s. You just apply a thin, even layer of wax to any surface you want to seal. Let it “set” for at least 10 minutes, then get to buffing! I found small, circular motions worked best. The wax is buffed when the surface is silky smooth and shiny.


Then it was just a matter of adding the new hard-wear, and inserting the draws.


Just like everyone before me has said, chalk paint is super easy, there is little (to no) sanding required, and the results are wonderful! Sealing the paint with the clear wax gives a finish that looks and feels very professional. And how cute are those crystal handles? If you’ve every wanted to try chalk paint, I really encourage you to give it a go, you’ll love it!
